
DKIM Generator For Businesses: Improve Email Trust And Delivery
Last Updated on September 2, 2026 by chada sravas
What a DKIM Generator Is and Why Businesses Need It
A DKIM generator is a tool that creates the cryptographic values required to authenticate email using DomainKeys Identified Mail, commonly known as DKIM. For businesses, DKIM is a core part of modern email authentication, helping prove that outgoing emails were authorized by the owner of a specific domain name.
A typical DKIM generator creates a private/public key pair. The private key is used by the email server, mail server, ESP, or third-party provider to sign outgoing messages. The public key is published in DNS as part of a DKIM record, usually as a TXT record. When a receiving server gets an email, it checks the DKIM signature against the public key in DNS to verify that the message has not been altered.
Businesses need a DKIM generator because many organizations use multiple sending platforms: Google Workspace, Microsoft 365, Mailchimp, CRMs, support tools, billing systems, and marketing automation platforms. Each email sending source may require its own selector, DKIM key, and DNS configuration.
Businesses often use multiple email marketing tools, email platforms, CRMs, and marketing automation platforms.
Business risks DKIM helps reduce
Without DKIM, attackers can more easily impersonate your organization, spoof your sending domains, and damage trust with customers. DKIM supports broader email security strategies alongside SPF and DMARC. Tools such as EasyDMARC, PowerDMARC, and a DKIM Lookup tool help organizations validate whether a DKIM record is properly published and aligned with their authentication policy.
For a business, a reliable DKIM setup improves trust signals for mailbox providers and helps legitimate emails reach the inbox rather than spam.
How DKIM Works: Keys, Signatures, and DNS Records Explained
DKIM works by attaching a cryptographic signature to email headers. During DKIM signing, the sending platform uses the private key to create a signature based on selected parts of the message. The recipient’s server retrieves the matching public key from DNS and uses it to authenticate email.
The DKIM record is published as a DNS TXT record under a DNS hostname that includes the selector. For example, a selector such as s1 might create a DNS name like:
s1._domainkey.example.com
The value of the TXT record includes DKIM tags such as version, key type, and the actual public key tag. A simplified DKIM tags explanation looks like this:
- v=DKIM1 identifies the record as DKIM.
- k=rsa defines the key type.
- p= contains the public key.
- Optional tags may describe testing, service restrictions, or hash preferences.
The role of the DKIM key
The DKIM key is central to message validation. A DKIM key generator or DKIM record generator tool creates the private key and public key together. The private key must remain secret and should be stored securely by the email provider, ESP, or your own dedicated email server. The public key is safe to publish because it only verifies signatures.
Public key vs. private key
The private key signs outgoing emails, while the public key allows the receiving mail system to verify the signature. If the private key is exposed, attackers may be able to sign unauthorized mail as your domain, so immediate key rotation is required.
Selector, key length, and TXT record structure
The selector tells the receiving server where to find the correct DKIM record. Businesses often use different selectors for Google, Microsoft, MailChimp, or a dedicated mail server. The key length is also important: 2048-bit keys are commonly recommended, though some legacy DNS providers may have TXT length limitations. When choosing a hash algorithm, modern providers typically use secure standards such as SHA-256.
A well-formed TXT record must match the required DNS syntax from your service provider, otherwise DKIM validation can fail.
Step-by-Step Guide to Using a DKIM Generator
A step-by-step guide helps reduce errors during DKIM implementation, especially when multiple teams manage email platforms and DNS.
1. Choose the right DKIM generator
Start with a trusted DKIM generator such as EasyDMARC’s DKIM Record Generator, EasyDMARC’s DKIM Generator tool, PowerDMARC, or a built-in generator from your email provider. Google Workspace and Microsoft 365 often provide a predefined DKIM key or platform-specific process for DKIM activation. Mailchimp also provides DKIM values for authenticated domains.
If you manage your own infrastructure, use a reputable DKIM Record Generator to generate DKIM values with the correct key length, selector, and key type.
2. Enter the selector and domain details
The selector should clearly identify the sending source, such as *google*, microsoft365, *mailchimp*, or s1. Then enter the domain name used for sending. For organizations with multiple sending domains, create separate records where needed.
The DKIM generator will produce a DKIM key, including the private key for signing and the public key for DNS.
3. Add the DKIM record to DNS
Next, log in to your domain host, such as Cloudflare, Namecheap, or another DNS provider. Create a new TXT record using the hostname provided by the generator or ESP. To add DKIM record values correctly, paste the generated DKIM record exactly as provided.
This stage is part of your DNS configuration, and accuracy matters. Extra spaces, missing quotation marks, truncated keys, or using the wrong selector can break authentication. Use the recommended TTL from your provider, or choose a practical TTL such as 300 to 3600 seconds during setup and testing.
4. Enable signing on the sending platform
After publishing DKIM, enable signing in Google Workspace, Microsoft 365, Mailchimp, or your mail application. This may require updating mail server configuration if you operate a dedicated email server. Once enabled, the platform will use the private key to sign outgoing emails and outgoing messages.
5. Verify the DKIM configuration
Use a DKIM Lookup tool to confirm that the TXT record is visible in DNS. Then send mail to a test inbox and inspect headers to confirm that the DKIM signature passes. If validation fails, review the DNS configuration, selector, DKIM key, and platform settings.
Best Practices for DKIM Setup, Rotation, and Email Authentication
Strong DKIM setup is not just about creating one record. It requires lifecycle management, clear ownership, and regular validation.
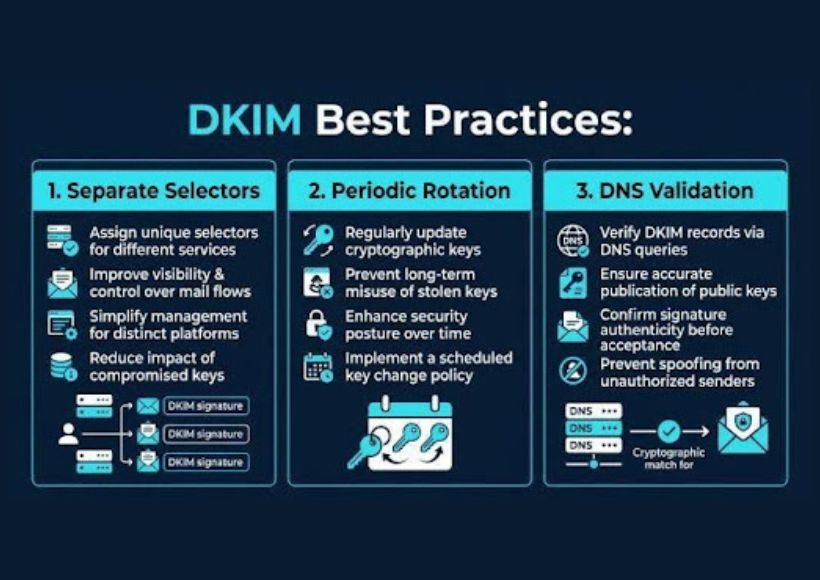
Use strong keys and separate selectors
Choose a secure key length, typically 2048-bit when supported. Avoid using one DKIM key for every platform. Instead, assign a unique selector to each email sending source, such as Google Workspace, Microsoft 365, Mailchimp, or a support desk tool. This makes rotation safer and troubleshooting easier.
If a vendor is compromised, you can revoke one DKIM record without disrupting every channel your organization uses to send mail.
Rotate keys periodically
Key rotation reduces long-term risk. Generate a new private key and public key, publish the new TXT record, enable signing with the new DKIM key, and then retire the old selector after traffic has fully migrated.
A mature DKIM configuration should document each selector, owner, platform, activation date, and rotation schedule. This is especially important when an ESP or third-party provider manages signing on your behalf.
Validate DNS and provider alignment
Misconfigured DNS is one of the most common DKIM failure points. Check that the public key in the TXT record matches the private key used by the signing system. Also confirm that your email server or provider is signing with the same selector published in DNS.
For businesses using Cloudflare, Namecheap, Google, Microsoft, or MailChimp, follow the vendor’s DKIM setup guide closely. DNS interfaces vary, and some automatically append the root domain while others require the full hostname.
How DKIM Improves Email Deliverability, Brand Trust, and Security
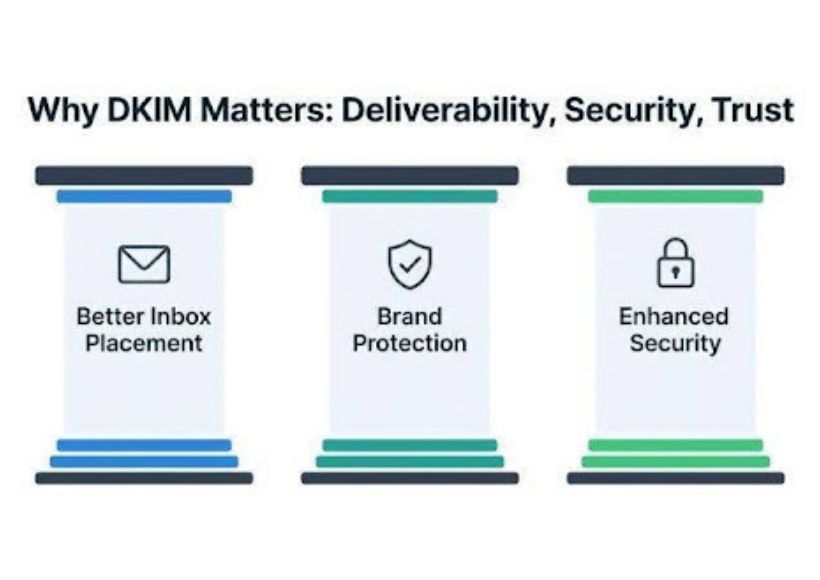
DKIM improves deliverability by giving mailbox providers a reliable way to verify that mail was authorized and unchanged in transit. While DKIM alone does not guarantee inbox placement, it is a major signal in modern email authentication and is often required for effective DMARC enforcement.
Better inbox placement and sender reputation
When a receiving server validates the DKIM signature, it gains confidence that the message came from an approved sending system. This helps protect sender reputation and reduces the likelihood that legitimate business messages will be filtered as suspicious.
For companies that send invoices, password resets, newsletters, or sales outreach, properly configured DKIM can improve how mailbox providers evaluate outgoing emails. A clean DKIM record, correct DNS configuration, and stable DKIM signing all contribute to better trust.
Stronger brand protection
Attackers often exploit weak authentication to impersonate trusted brands. DKIM helps prevent tampering and supports DMARC policies that instruct receivers how to handle unauthenticated messages. Combined with SPF and DMARC, DKIM makes it harder for criminals to spoof your organization.
Using a DKIM generator correctly ensures every approved platform has a valid DKIM key, properly published public key, protected private key, and accurate TXT record. This foundation helps businesses protect customers, secure communications, and maintain trust across every email channel.
