
Laptop Screen Flickering and Lines: Causes and How to Fix Them
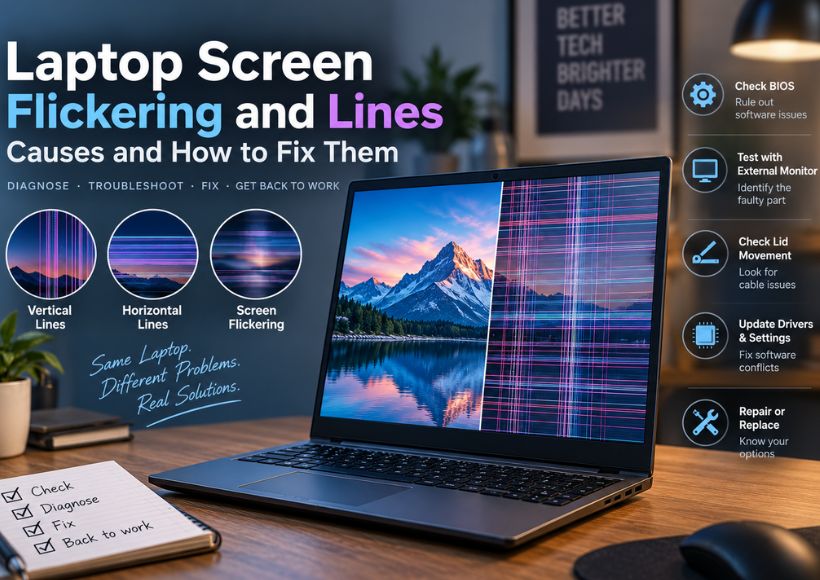
When a laptop screen begins to flicker, or horizontal or vertical lines appear on the screen, it can have different causes, such as the Windows graphics layer or the hardware screen. The easiest way to troubleshoot the problem is to establish where it lies.
The display path is roughly:
GPU/graphics driver → motherboard → eDP display cable → display panel
If the problem exists only inside Windows, a driver, application, refresh-rate setting, or power-management feature may be responsible. If the same artifact appears in BIOS or changes when the lid moves, the physical display hardware becomes much more important. Microsoft notes that Windows screen flickering is commonly associated with display-driver problems or incompatible applications, while Intel specifically recommends checking BIOS and the integrated panel when diagnosing laptop flickering.
The 3-Step Triage: Isolate the Fault Before Replacing Anything
You can narrow down the problem quickly with three tests.
1. Check the BIOS/UEFI screen
Restart the laptop and enter BIOS/UEFI using the key specified by the manufacturer.
Watch for the manufacturer’s logo and BIOS screen, which will appear before Windows boots.
If you can see the same flickers or lines in this mode, then that means that Windows has not started booting yet. In this case, you are less likely to have a Windows software-related problem, and therefore, you should look at the computer monitor and its hardware. According to Intel, you should also check for flickering in the BIOS, and if the laptop keeps flickering at this point, Intel suggests contacting the laptop manufacturer.
If everything looks fine in the BIOS but the problem appears only when Windows boots, then possible software or driver issues arise again.
2. Connect an external monitor or TV
Connect a known-good external display through HDMI or DisplayPort and compare it with the laptop’s built-in screen.
| Diagnostic test | What you observe | What it suggests |
| BIOS/UEFI test | Lines or flickering already appear in BIOS | A Windows-only software problem becomes less likely; investigate hardware |
| External monitor test | Laptop screen is faulty, external display is normal | Built-in display path becomes the main suspect: eDP cable, connector or panel |
| External monitor test | Both displays show the same artifacts | Investigate graphics driver, GPU or motherboard/graphics subsystem |
| Lid movement test | Lines change as the lid angle changes | Display cable or connector around the hinge becomes a stronger suspect |
This test doesn’t identify the exact failed component. For example, a clean external display does not prove that the eDP cable is bad rather than the panel. It simply tells you that the problem is probably confined to the laptop’s internal display path.
3. Gently move the laptop lid
With the laptop running, slowly move the lid through its normal range, roughly from 45° toward 120°. Don’t force the hinge or repeatedly flex the screen.
If the lines appear, disappear, change brightness, or start flickering at particular angles, the display cable or connector deserves close inspection.
The eDP cable delivers the high-speed display signal from the motherboard to the display assembly. In many laptops, the display cable passes through or near the hinge so that repeated opening and closing of the lid may apply stress to the cable, its conductors, or its connector.
Usage of eDP connectors that come with a 30-pin or 40-pin connector varies according to different laptops.
What the Lines Can Tell You
The shape and behaviour of the artifact can provide useful clues, but they should not be treated as a diagnosis by themselves.
A single permanent vertical line
A very thin vertical line that stays in the same position is more consistent with a panel-level fault than a temporary Windows glitch.
LCD panels contain row and column driver electronics connected to the glass through extremely fine bonded connections. A failure in the panel’s driver circuitry or a COF (Chip-on-Film) connection can result in a persistent column of abnormal pixels. Once the bonding or panel glass itself has failed, software cannot repair it, and a panel replacement is normally the practical solution.
This is why pressing the bezel, twisting the display, or repeatedly opening and closing the lid is not a sensible repair strategy. If the fault is inside the panel bonding, those actions can make the damage worse.
Horizontal lines or bands
Horizontal lines may have several different causes; the problem can originate from the panel itself, in the display signal path, the graphics subsystem, or the software’s timing and settings.
Some display technologies use timing circuits to drive the display panel, but most modern laptop displays do not use separate T-Con boards, as was the case with older TVs and monitors. Therefore, simply stating that a horizontal line indicates a failed T-Con board is inadequate when dealing with laptops.
More relevant questions may be:
- Does it show up in BIOS?
- Does it change while moving the lid?
- Is the external monitor normal?
- Does changing the resolution change anything?
These observations give more valuable information than the position of the line.
Flickering combined with lines
In the event of flickering lines on a screen, it is worthwhile to check both the physical display path and the software/display configuration.
The cause of visual anomalies can be anything from poor eDP connectivity, a defective cable, problems with the electronics of the panel, an issue with the graphics driver, refresh rate issues, to panel power management problems.
As a result, external monitor tests and BIOS tests should be conducted before ordering a replacement panel.
Software and Firmware Fixes That Are Worth Trying
If BIOS is clean and the problem appears only after Windows loads, work through the software side before opening the laptop.
First try the Windows graphics reset:
Win + Ctrl + Shift + B
Microsoft documents this shortcut as a way to reset the graphics driver and notes that it may fix screen-flickering problems. The screen may briefly go black or flicker when the reset occurs.
Next, check the Task Manager. Microsoft uses this as a useful diagnostic distinction:
- If Task Manager flickers along with everything else, the display driver is more likely involved.
- If Task Manager stays stable while another application flickers, an incompatible application becomes more likely.
If the issue starts after updating the graphics driver or installing a Windows update, use the driver package recommended by the laptop manufacturer. For laptops, OEM graphics packages are designed for the specific hardware configuration of the device. According to Intel, it is recommended to use the driver provided by the laptop manufacturer and perform a clean installation if required.
Test the refresh rate.
A gaming laptop with high refresh rate support could run at 120 Hz, 144 Hz, 165 Hz, and so forth. Windows 11 has the option to use Dynamic Refresh Rate, which allows the operating system to change the refresh rate depending on the activities performed on the computer.
If flickering happens during scrolling, idle-to-active transitions, or other changes in display activity, temporarily select a fixed refresh rate:
Settings → System → Display → Advanced display → Choose a refresh rate
There might be a change if you decrease the supported rate of the display. Windows 11 provides an option to change the refresh rate, and Intel recommends doing the same thing if users have trouble with flickering on their laptops.
Switching from 165 Hz to 60 Hz may stop flickering, but the fact itself cannot be considered proof that it was caused by DRR.
Test Panel Self Refresh on supported Intel laptops.
A few Intel laptops feature the setting of Panel Self Refresh (PSR). Using PSR, a compatible display can refresh itself under certain circumstances to save energy.
Intel suggests, among troubleshooting options for flickering problems with laptop screens, disabling Panel Self Refresh and lowering the resolution and refresh rate.
The option is not present in every laptop; therefore, there is no need to worry if the Intel Graphics Command Center does not show it.
The Hardware Reality: What Can You Fix at Home?
When it comes to an eDP connector that is loose, it is not the same as a display panel that is no longer functioning.
If the problem is simply that the connector has come loose, the technician can get to the connector for the display, turn off the power as needed, and reconnect it, according to the manufacturer’s instructions. However, reaching the connector is not always easy and may require removal of the lower cover or sometimes even the display frame.
In contrast, if the conductor inside the cable for the display is broken, reseating the cable will not solve the issue, and the cable will typically have to be replaced completely.
Panel damage is a unique situation. In the case of a failure from display glass, driver circuitry, or COF bonding, replacing the panel is often the more effective fix than attempting to repair the panel itself. In some cases, display repair technology could handle the bonding issue. But this type of repair is not something you can typically do in your home.
Before buying a replacement screen, identify the exact laptop model and existing panel specification. Two screens with the same size and resolution can still differ in refresh rate, connector configuration, mounting, brightness, and other specifications.
For an old laptop, you need to check if the repair quote is higher than what the laptop is worth and take into account the laptop’s present state. However, if the rest of the laptop functions properly, then using an external monitor can be a short-term fix if the display is the only damaged part.
Can Faulty RAM Cause Display Lines?
It can cause graphical corruption, but it should not be the first explanation for a single permanent line.
Integrated graphics such as Intel’s integrated GPUs use system memory rather than having a completely separate pool of dedicated VRAM. If system memory is unstable, corrupted data can lead to crashes or unexplained graphical behaviour.
However, a fixed vertical line that appears in BIOS and stays in the same position is much more suggestive of a display-path problem than ordinary RAM failure.
If other symptoms are present random crashes, freezes, corrupted graphics across multiple displays, or unexplained system instability memory testing becomes worthwhile.
For laptops with removable memory, reseat the RAM module in some cases to resolve the contact issue. However, do not assume that reseating has fixed the problem only because the display is working after that.
In order to carry out a correct test, MemTest86 has to boot by itself and test RAM in an independent way. The documentation mentions that RAM problems might arise either due to defective RAM modules, signaling issues, high voltage issues, poor contact, or poor RAM slot condition.
The practical order is:
BIOS → external monitor → lid movement → Windows/driver checks → refresh-rate/PSR tests → cable/connector inspection → panel diagnosis → RAM/GPU investigation when the symptoms point there.
That sequence matters. Don’t buy a replacement screen simply because you see lines. First establish whether the fault follows the laptop’s display, the graphics system, or the Windows environment.
